![BLAZE-Logo-Blue.svg]](https://help.blaze.me/hubfs/BLAZE-Logo-Blue.svg)
Placement and Power
Before setting up your CFD, decide where the iPad will be placed at your register.
The display should:
- Be easy for customers to see
- Sit securely in a stable tablet stand
- Have access to continuous power
- Be positioned so the charging cable does not interfere with staff or customers
Lockable tablet stands can help protect the device and keep it securely positioned. Dual-display stands may also be available if you want to mount your POS iPad and Customer Facing Display together.
Make sure you plan where the power cable will run before installing the stand.
Our hardware partner Venture, has tablet stands available!
Check out this dual-facing tablet stand, HERE, if you're interested in setting up the CFD in your shop!
Before You Begin
The BLAZE Retail CFD app is currently only available on iOS. This means that the CFD screen must be an iPad.
However, you may still use an Android tablet for the POS and connect that device to an iPad set up as the CFD.
Primary POS iPad
This is the iPad your staff use to process sales.
You will need:
- The Greenline POS app
- Greenline POS app version 3.2.0 or later
- Access to the Customer Facing Display settings
If the Greenline POS app does not update automatically, open the App Store and check for available updates.
Customer Facing Display iPad
This is the iPad customers will view during checkout.
You will need:
- An iPad running iPadOS 17 or later
- The BLAZE Retail CFD app
- A stable tablet stand
- Access to continuous power
We recommend an iPad sixth generation or newer.
Step 1. Download the BLAZE Retail CFD App
On the iPad you will use as your Customer Facing Display, download the BLAZE Retail CFD app from the App Store. You can use the QR code below on the CFD iPad to take you directly to the App Store listing.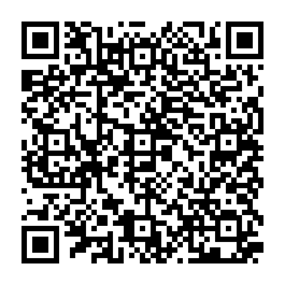
Step 2. Find the Connection Code
Open the BLAZE Retail CFD app on the Customer Facing Display iPad.
A connection code will appear near the bottom of the screen. You will enter this code into Greenline POS on your primary POS iPad.
Keep this screen open while completing the next step.
Step 3. Connect the Display to Greenline POS
On your primary POS iPad:
- Open the Greenline POS app.
- Navigate to GR > Settings > Customer Facing Display.
- Enter the code shown in the BLAZE Retail CFD app.
- Tap Connect.
Your Customer Facing Display should now be connected to Greenline POS.
Step 4. Customize Your Display Banners
You can customize the banners shown on your CFD’s idle screen, the screen displayed when a transaction is not active.
From your Greenline Dashboard, navigate to:
Settings > CFD Manager
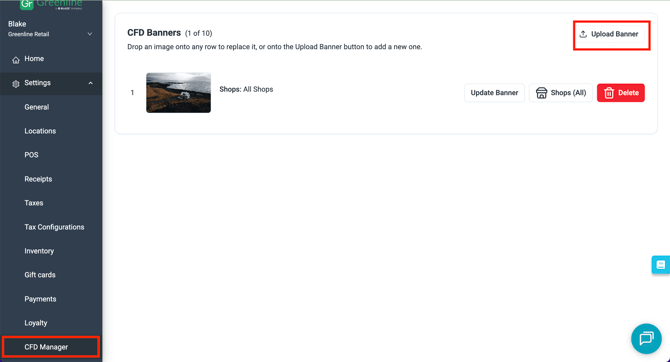
The CFD Manager allows you to:
- Add up to 10 banners
- Manage banners for all your locations from one page
- Remove a banner by selecting its delete button
- Customize the display to match your store branding
Each banner is displayed for approximately 10 seconds.
For most banner uploads, the recommended image size is:
2400 × 1715 pixels, using a 1.40:1 image ratio.
Recommended Banner Sizes
For the best fit, use the recommended dimensions for your iPad model:
- iPad 6th Generation, 9.7-inch: 2048 × 1496 pixels
- iPad 7th, 8th, or 9th Generation, 10.2-inch: 2160 × 1580 pixels
- iPad 10th Generation, 10.9-inch: 2360 × 1600 pixels
How to Check Your Banner Changes
Open the BLAZE Retail CFD app to preview your banners.
New or updated images should appear within 60 seconds.
If the images do not appear:
- Fully close the BLAZE Retail CFD app using the iPad app switcher.
- Reopen the app.
- If the issue continues, delete and reinstall the app.
If an image appears blurry or stretched, confirm that it uses the recommended dimensions for your iPad.
How to Reconnect a Customer Facing Display
If your CFD becomes disconnected:
- Open the BLAZE Retail CFD app.
- Tap the store logo at the top of the screen five times.
- Select Disconnect.
- Wait for a new connection code to appear.
- Enter the new code under GR > Settings > Customer Facing Display on your primary POS iPad.
- Tap Connect.
Need Additional Help?
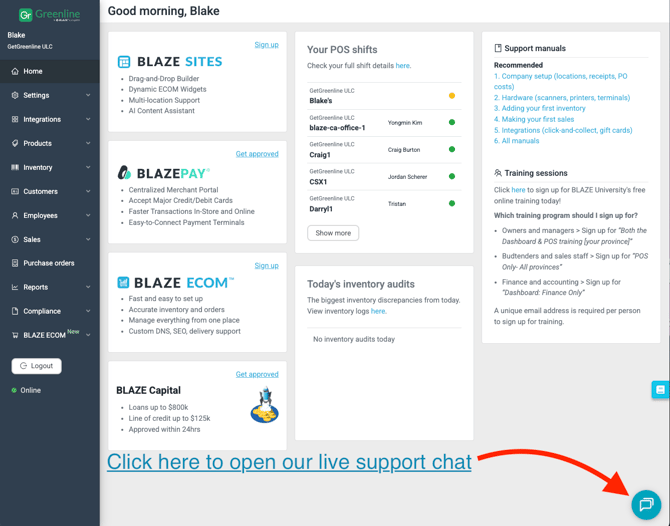
For help setting up or troubleshooting your Customer Facing Display, email support-ca@blaze.me or open Support Chat from your Greenline Dashboard.
Congratulations! Your Customer Facing Display is now ready to use with Greenline POS.
Thank you for choosing Greenline POS. We appreciate your business and are always happy to help.