
UPDATE: The ELO Paypoint Plus for iPad has been discontinued.
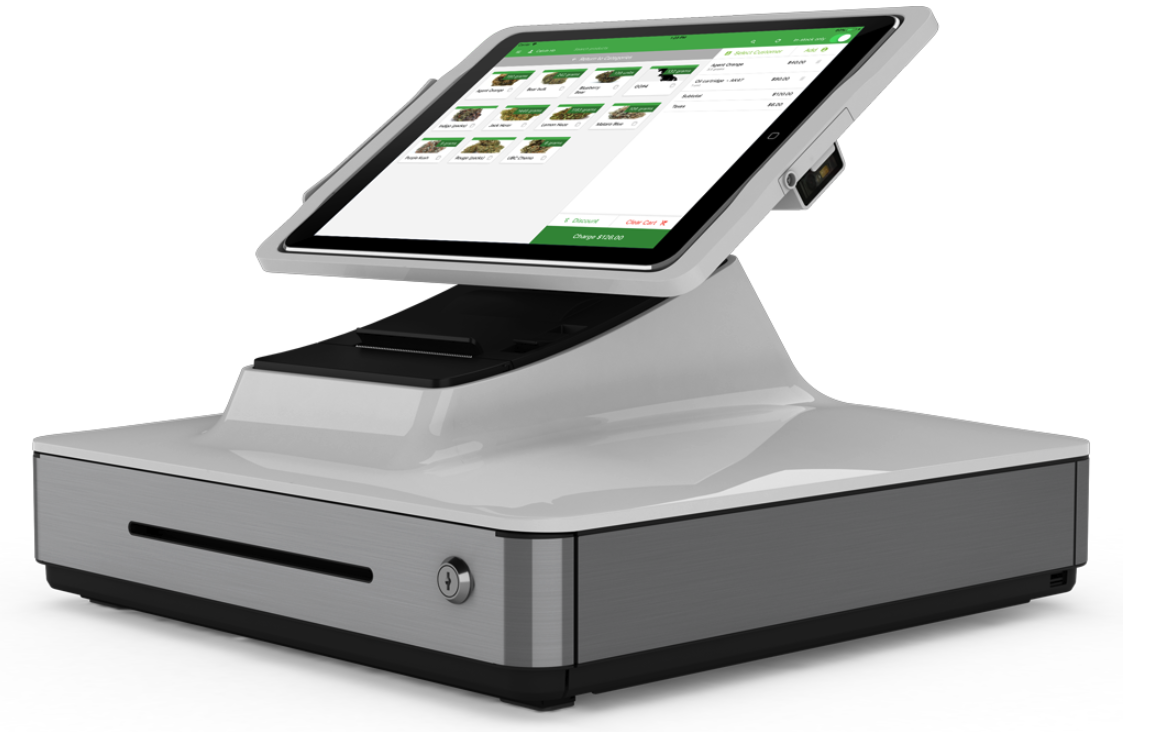
The ELO Paypoint is a modern all-in-one POS unit that connects seamlessly to the iPad. It is a plug and play device requiring minimal setup. This article will guide first-time users through those steps and work through any potential snags they might hit.
Before proceeding, please ensure that you have followed the first time iPad setup steps and have downloaded the BLAZE POS app.
Important steps for iOS 12 devices
iOS 12 ships with a default security setting that turns off USB peripherals if the iPad hasn't been unlocked for an hour. This can result in periodic disconnects overnight and in the middle of the day.
We require all ELO Paypoint customers to go through the following steps:
-
Go to your iOS settings page
-
Go to "Touch ID & Passcode"
-
Turn on "USB Accessories" (off by default)
-
Restart the iPad

If you experience any barcode disconnects throughout the day, it can likely be resolved by unplugging the iPad from the dock, then plugging it back in. If for any reason that does not work, an iPad restart will fix all remaining issues.
Connecting to the ELO Paypoint receipt printer
The receipt printer on the ELO Paypoint does not connect via the charging port, but rather other Bluetooth. The steps to connect to the receipt printer are as follows:
-
Under the iPad stand, press the "RST" button. This will reset all receipt printer settings and put it in pairing mode
-
In the iPad's "Settings" app, go to the Bluetooth section, and look for a device with a name similar to "TSP100-173C62". The part after the TSP100 is unique per device.
-
NOTE: If you have multiple ELO Paypoints and are confused as to which printer is for which device, we recommend unplugging all other ELOs to ensure that you're connecting to the right one.
-
Once paired, go into the BLAZE POS app. Log into your device, start a shift (you can enter a 1 cent shift or a similar trivial amount), and go to the Settings > ELO Paypoint tab.
-
If you don't see any printers, press the "Refresh printer list" button.
-
Once you see your printer, select that printer as your primary printer. The box should turn dark green, indicating that you are connected.
-
Press the "Print test" button to print a test receipt.
Connecting to the ELO Paypoint barcode scanner
The ELO Paypoint barcode scanner communicates to your iPad via the charging port. First, ensure that your iPad is firmly plugged in, and that the ELO Paypoint is connected to a power outlet.
In the BLAZE app, start a shift, then go into the Settings > ELO Paypoint section. Check that the ELO status is "Connected". If it's "Disconnected", try plugging out the iPad charging port, then plugging it back in. If it continues to say "Disconnected", please follow the steps below in the "If your ELO Status keeps saying "Disconnected" section.
If it's connected, you should see a Barcode status section with empty dashes. In addition, your barcode LED light should turn on when a barcode is held up to it in proximity. Find a barcode (any barcode), hold it up to the scanner, and scan it in. There should be a beeping noise, and the barcode status section should now show the results of the barcode scan. Now you are fully connected.
Warranty
ELO Paypoints have a 3 year manufacturer warranty. If your device is defective, please contact ELO Touch at https://www.elotouch.com/ to start the replacement process. The average repair time is 14 days.