POS (Tablet) | Settings
Learn how to set up your BLAZE POS device.
This article will teach you everything that you need to know about your POS settings.
To access the Settings page:
-
Tap the GR logo to expand the hidden menu
-
Tap Settings to be redirected to the settings page
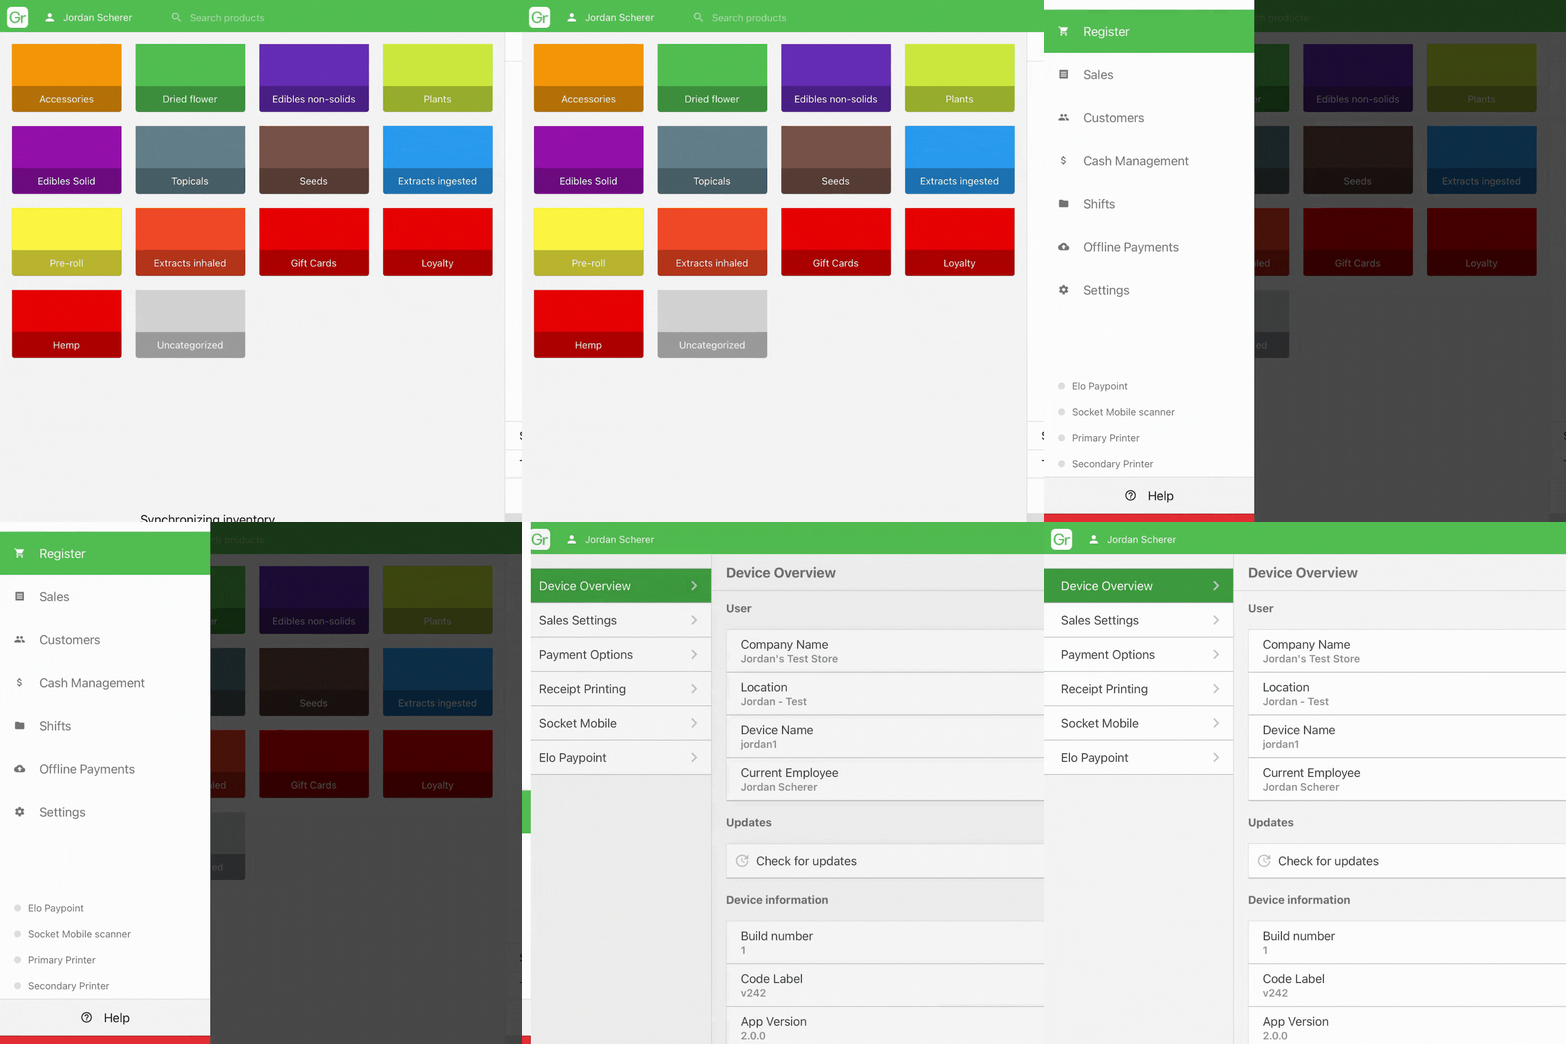
The Device Overview tab shows you a quick summary overview of your device broken into three categories:
-
User
-
Updates
-
Device Information
User
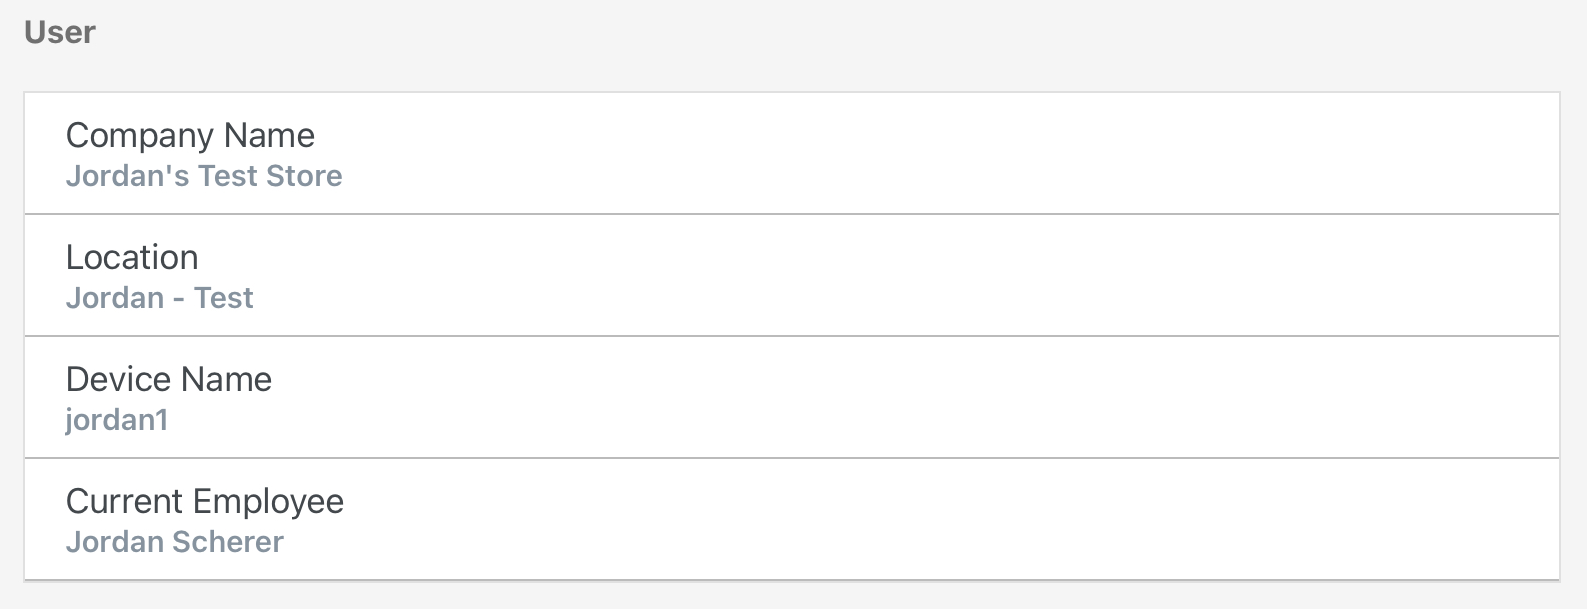
Here you can see the Company Name, Location, Device Name, and the Current Employee logged-in to your device.
Updates
For any software updates, tap on the “Check for updates” button so the POS device can refresh with the most recent software features.

Device Information
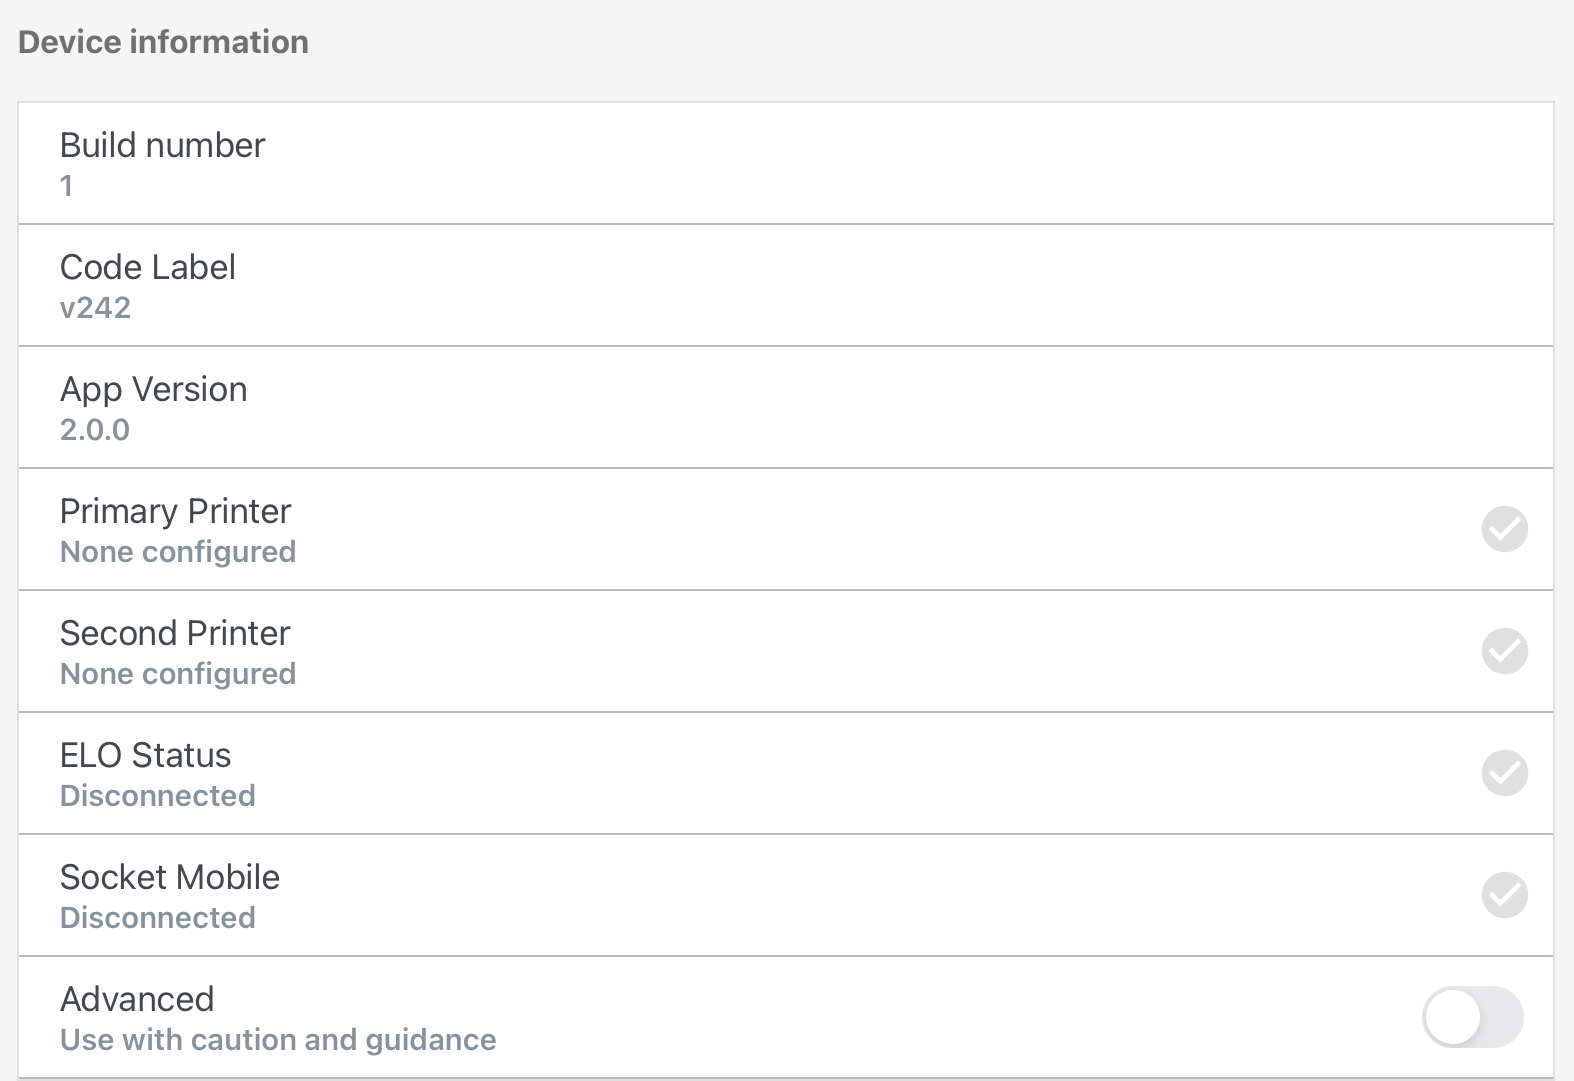
Here you can find any additional device information such as build number, code label, app version, and hardware connection statuses for scanners and printers.
These fields may be useful when you reach out to our support team for assistance. They may ask you to provide information such as your "Code Label" or "App Version."
Sales Settings
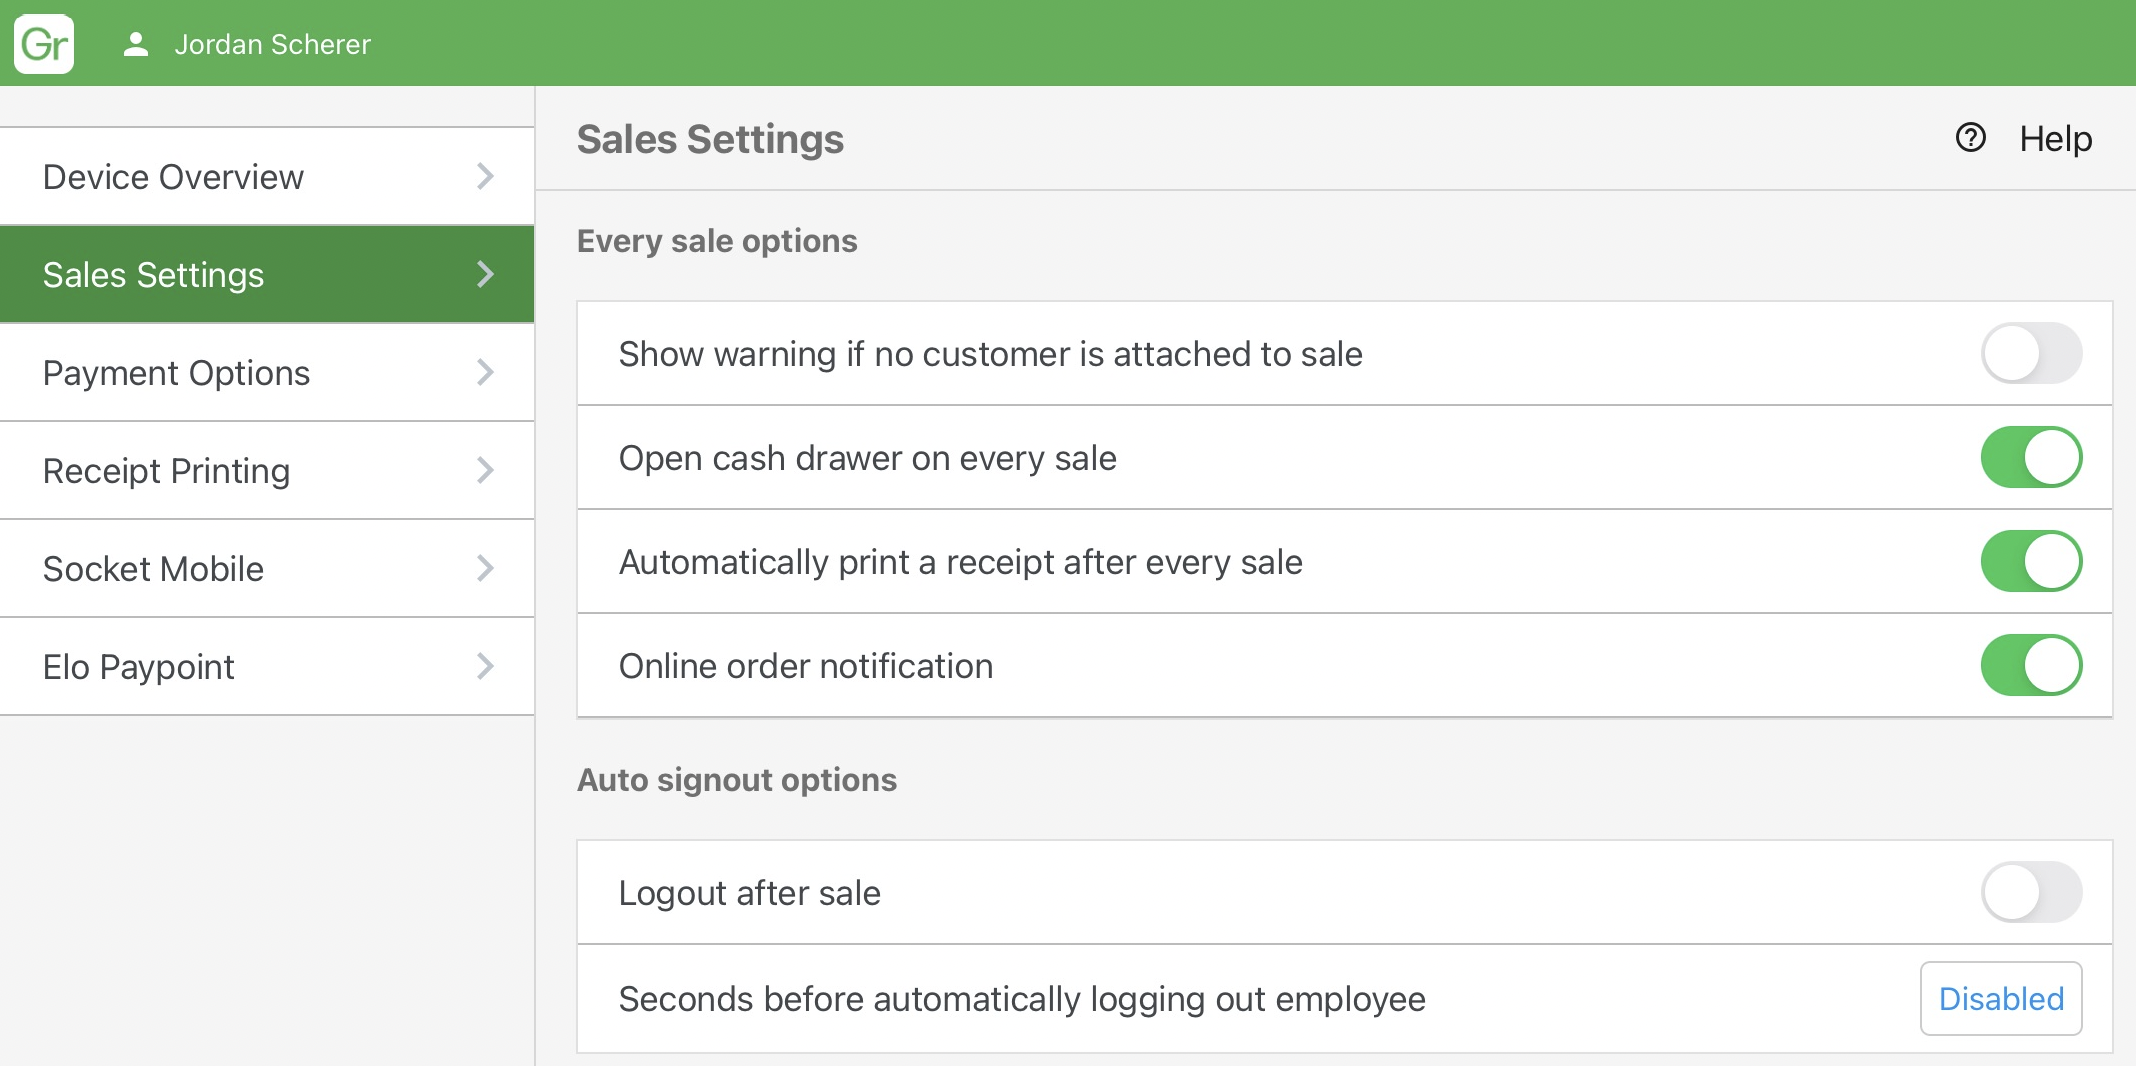
The Sales Settings tab allows you to customize settings related to sales activities.
-
Every sale options
-
Auto signout options
Every sale options
Here you can adjust the following settings:
-
Show warning if no customer is attached to sale
-
Open cash drawer on every sale (recommended setting)
-
Automatically print a receipt after every sale (recommended setting)
-
Online order notification
Auto signout options
Here you can adjust the following settings:
-
Logout after sale
-
Seconds before automatically logging out employee
Toggling the "logout after sale" button on will log the employee out of the POS device after each sale is completed. Alternatively, you can also set a timer to initiate an automatic log-off that ranges from 30 seconds to 10 minutes after a sale is completed.
Note: Once the employee is logged off, they will need to re-enter their passcode to sign back into the POS and place a new sales order. This feature will not stop tracking the employee’s shift hours.
Payment Options
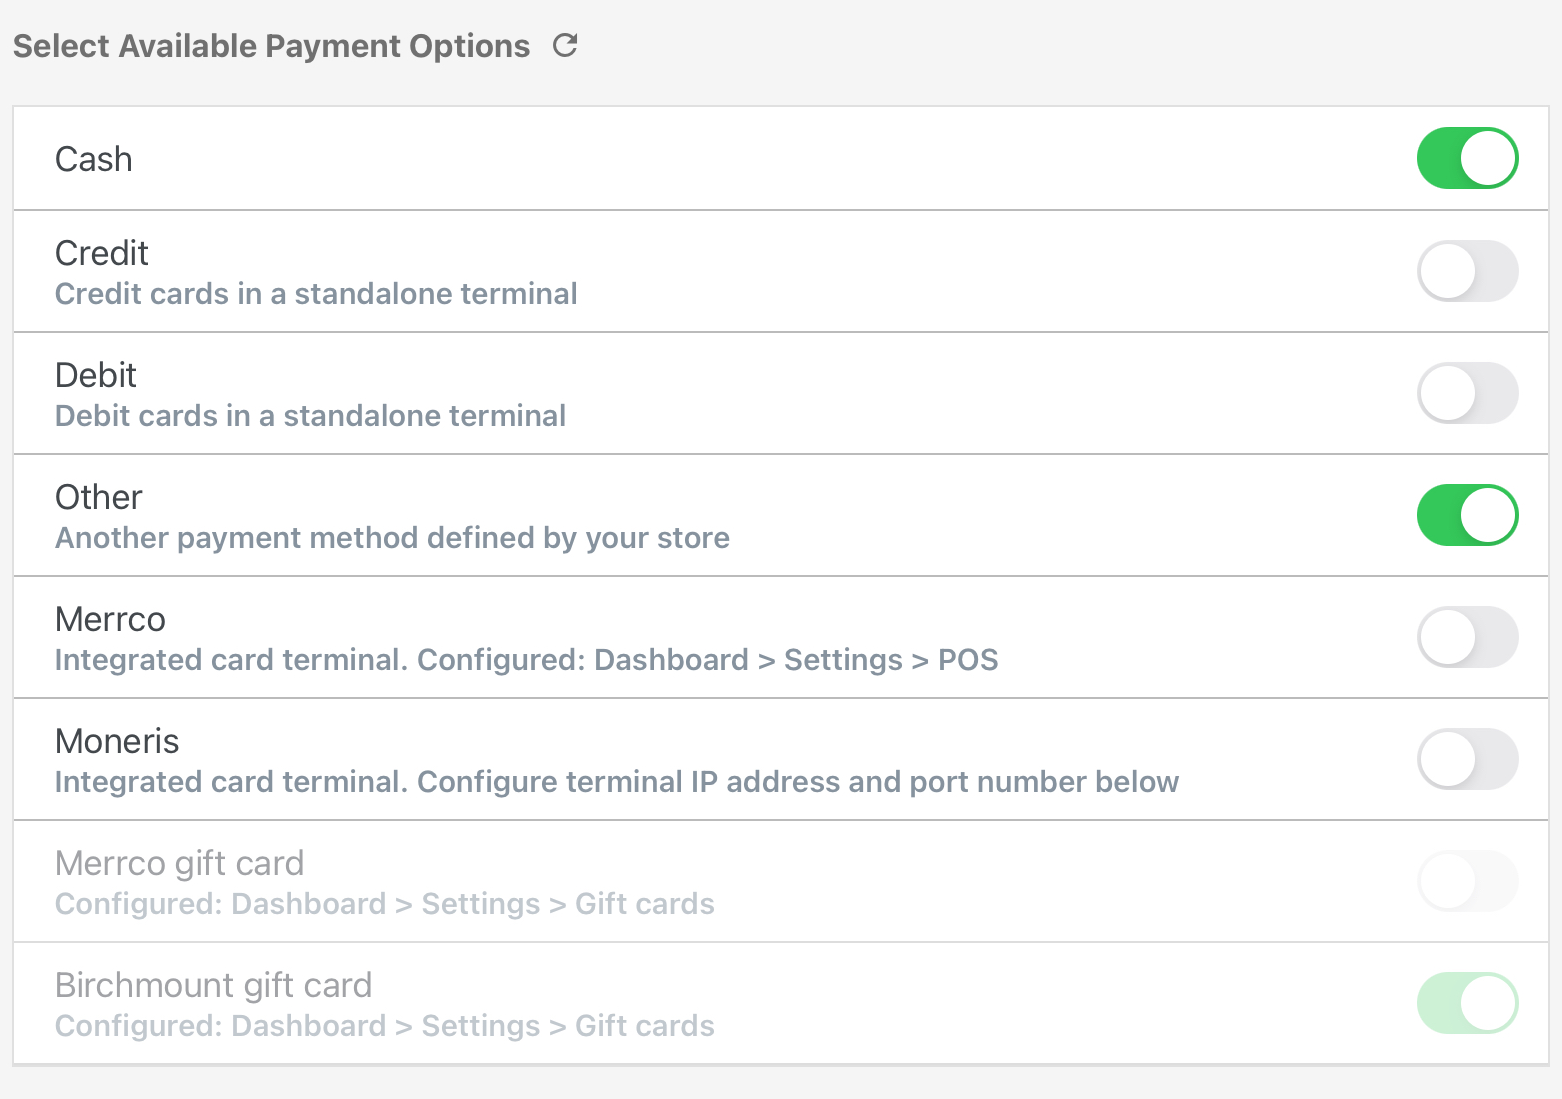
The Payment Options tab directly relates to the payment types your store accepts from customers.
You can toggle the appropriate payment options on that are accepted by your store.
If you are using an integrated payment processor such as Merrco or Moneris:
-
Toggle your payment processor button to on
-
Toggle debit and credit to off
Other is a payment type used for anything that does not fall within the other payment options such as e-transfer or personal cheques.
Merrco
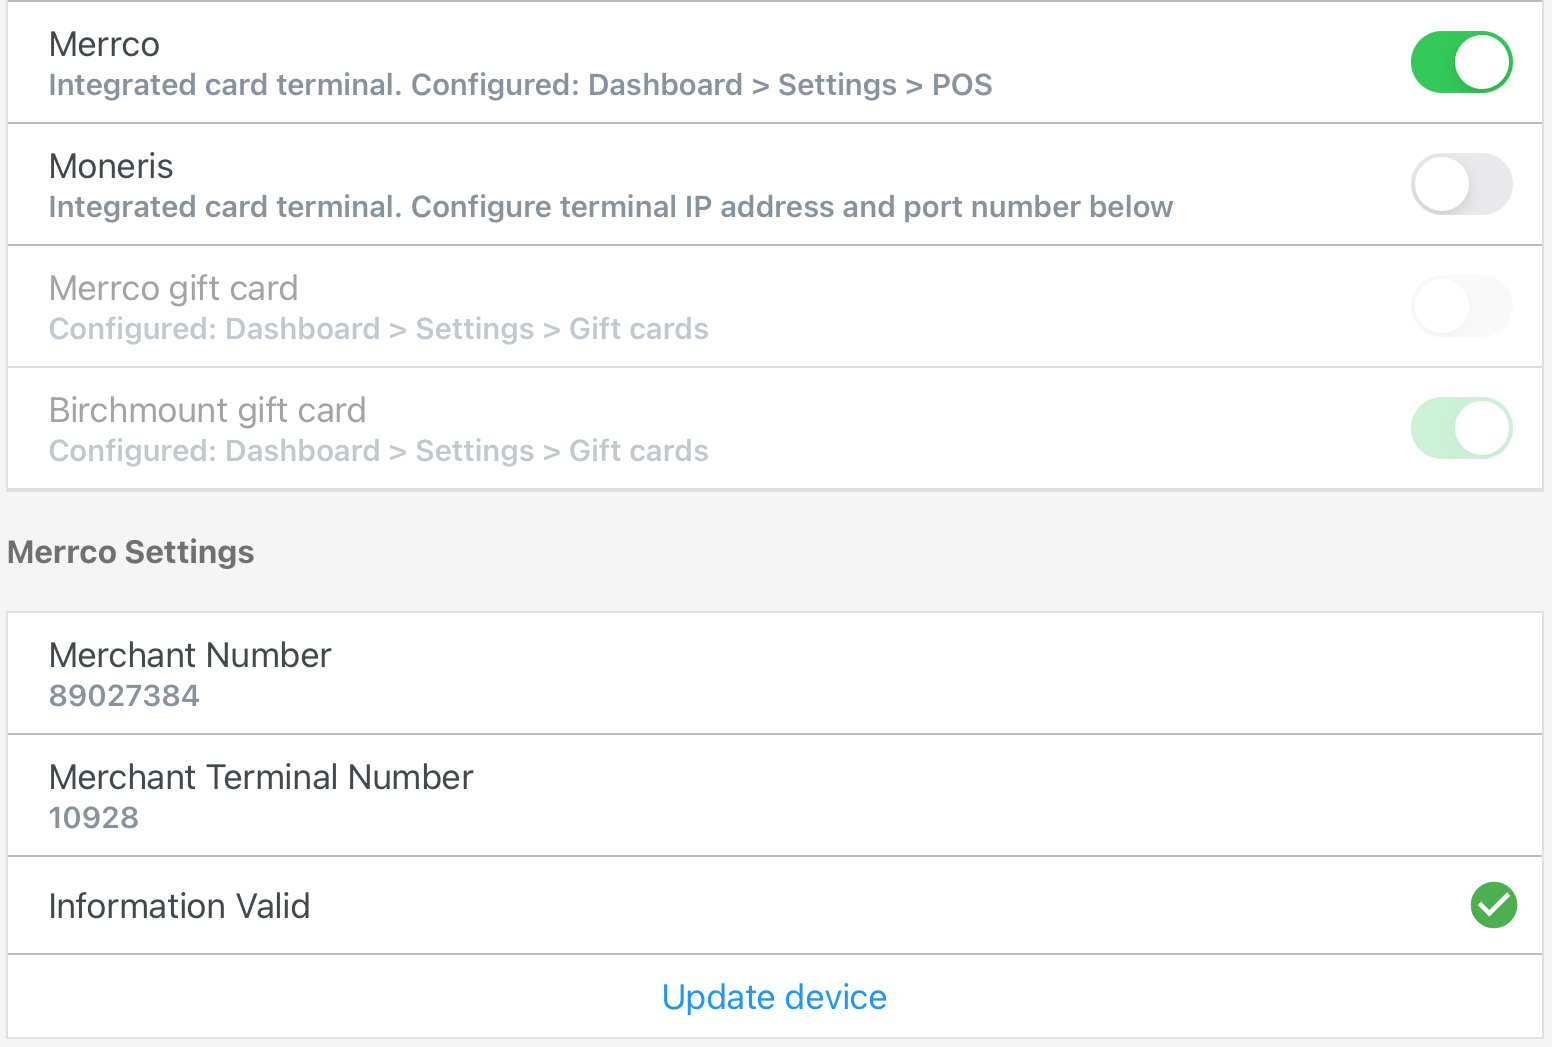
To use the Merrco integration, information must be set up in the dashboard and the payment option turned on in the POS device. Once it has been properly connected, a green checkmark will appear in the “Information Valid” box to indicate the connection status.
For more resources regarding Merrco terminal set up, refer to the "Merrco Terminal Setup" article.
Moneris
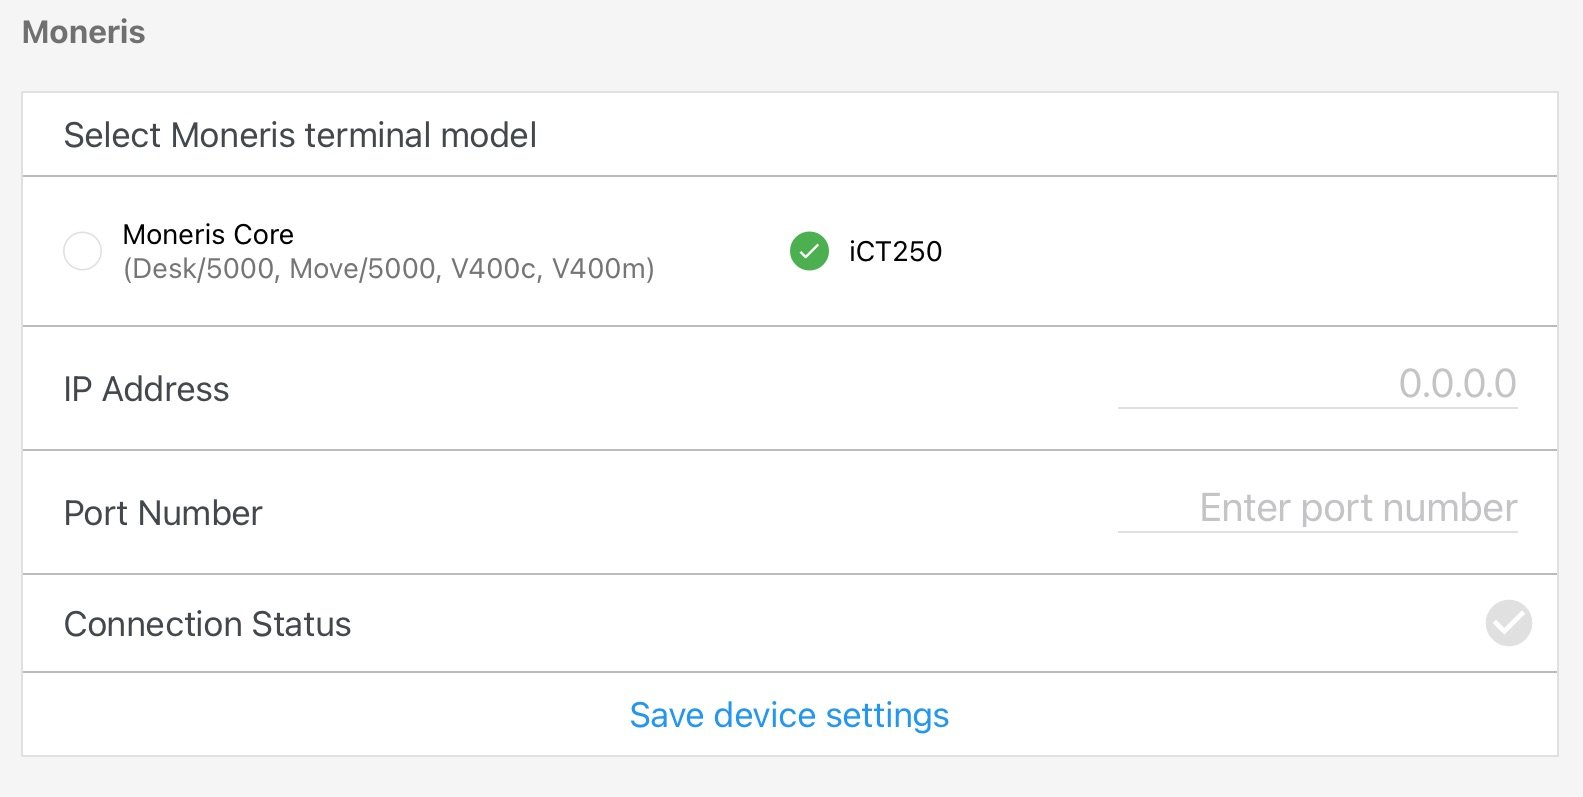
To use the Moneris integration, select which Moneris terminal you are using, then enter your terminal IP address and port number directly into the POS device. Once the Terminal IP address and Port number are configured, you will see a green checkmark to indicate the connection status. Note that the Port Number needs to be 6556 both on BLAZE and the terminal.
For more resources regarding Moneris integration and terminal setup, refer to the "Moneris Terminal Setup" article.
Note: If your store is integrated with a payment processor like Merrco or Moneris: to review a breakdown of your total debit/credit transactions, you can contact your payment processor.
Receipt Printing
The Receipt Printing tab is where you can connect your printers to the POS Device.
Receipt Printing requires you to pair your printer to your iPad or Android device prior to opening the BLAZE POS. Once the hardware is connected, you will be able to see any available printers.
-
If you are using the TSP100/650 printers you can select "Version 1" as your print version.
-
If you are using mC-Print 3 printers you can select "Version 2" as your print version. You will connect your scanner on this page once you have selected a primary printer (the option will appear underneath your selected printer to connect the scanner)
For more information on how to connect your printer:
If you have a secondary receipt printer, it must be set up as a network printer. This is because Bluetooth connections can only connect to one device at a time. Whereas with a network printer, you can have multiple devices sending receipts to a single printer. For more information, refer to the "Dual-receipt printer setup" article.

Socket Mobile
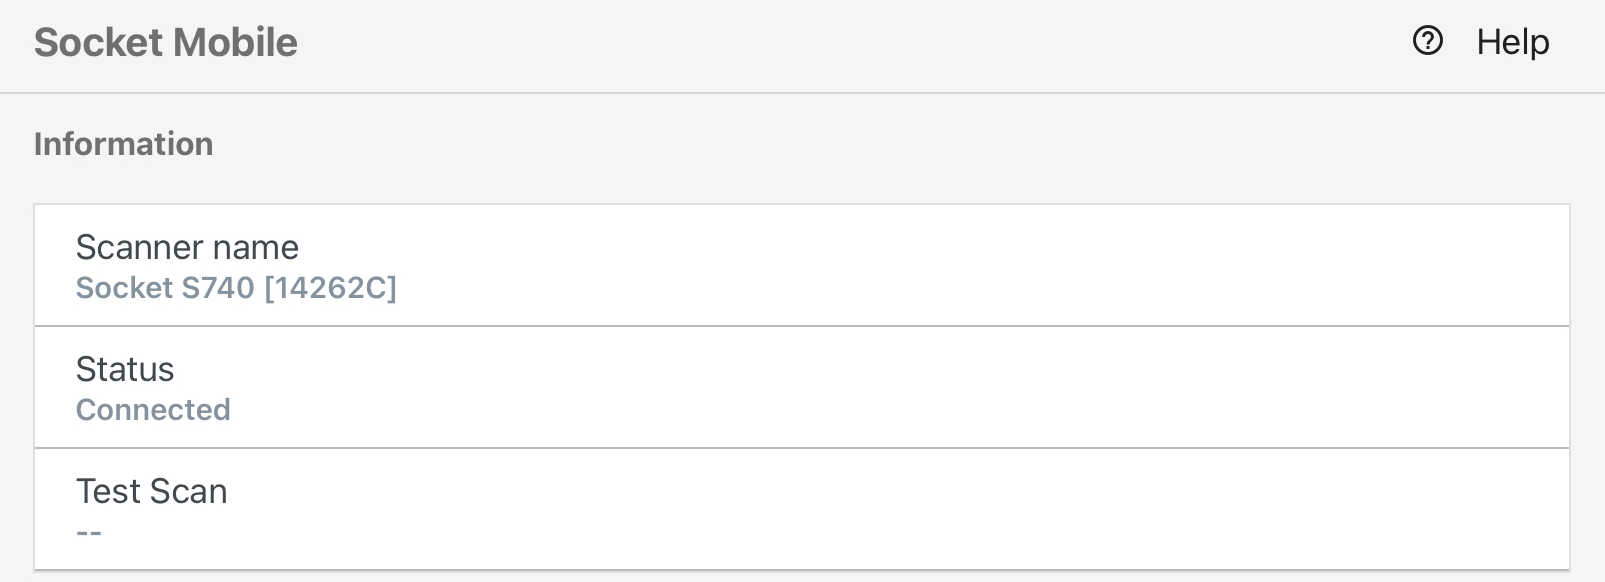
The Socket Mobile tab is where you can connect your Socket Mobile scanning hardware to the POS.
You will first need to pair your hardware to your iPad or Android device before opening the BLAZE application. Refer to our Socket Mobile Scanner Setup article for more information on how to connect your scanner.
Once the scanner is connected and you open the BLAZE application, you will be able to see the scanner name and status showing a connection. Test the scanner by scanning a barcode and making sure the barcode number matches the test scan number in the POS device.
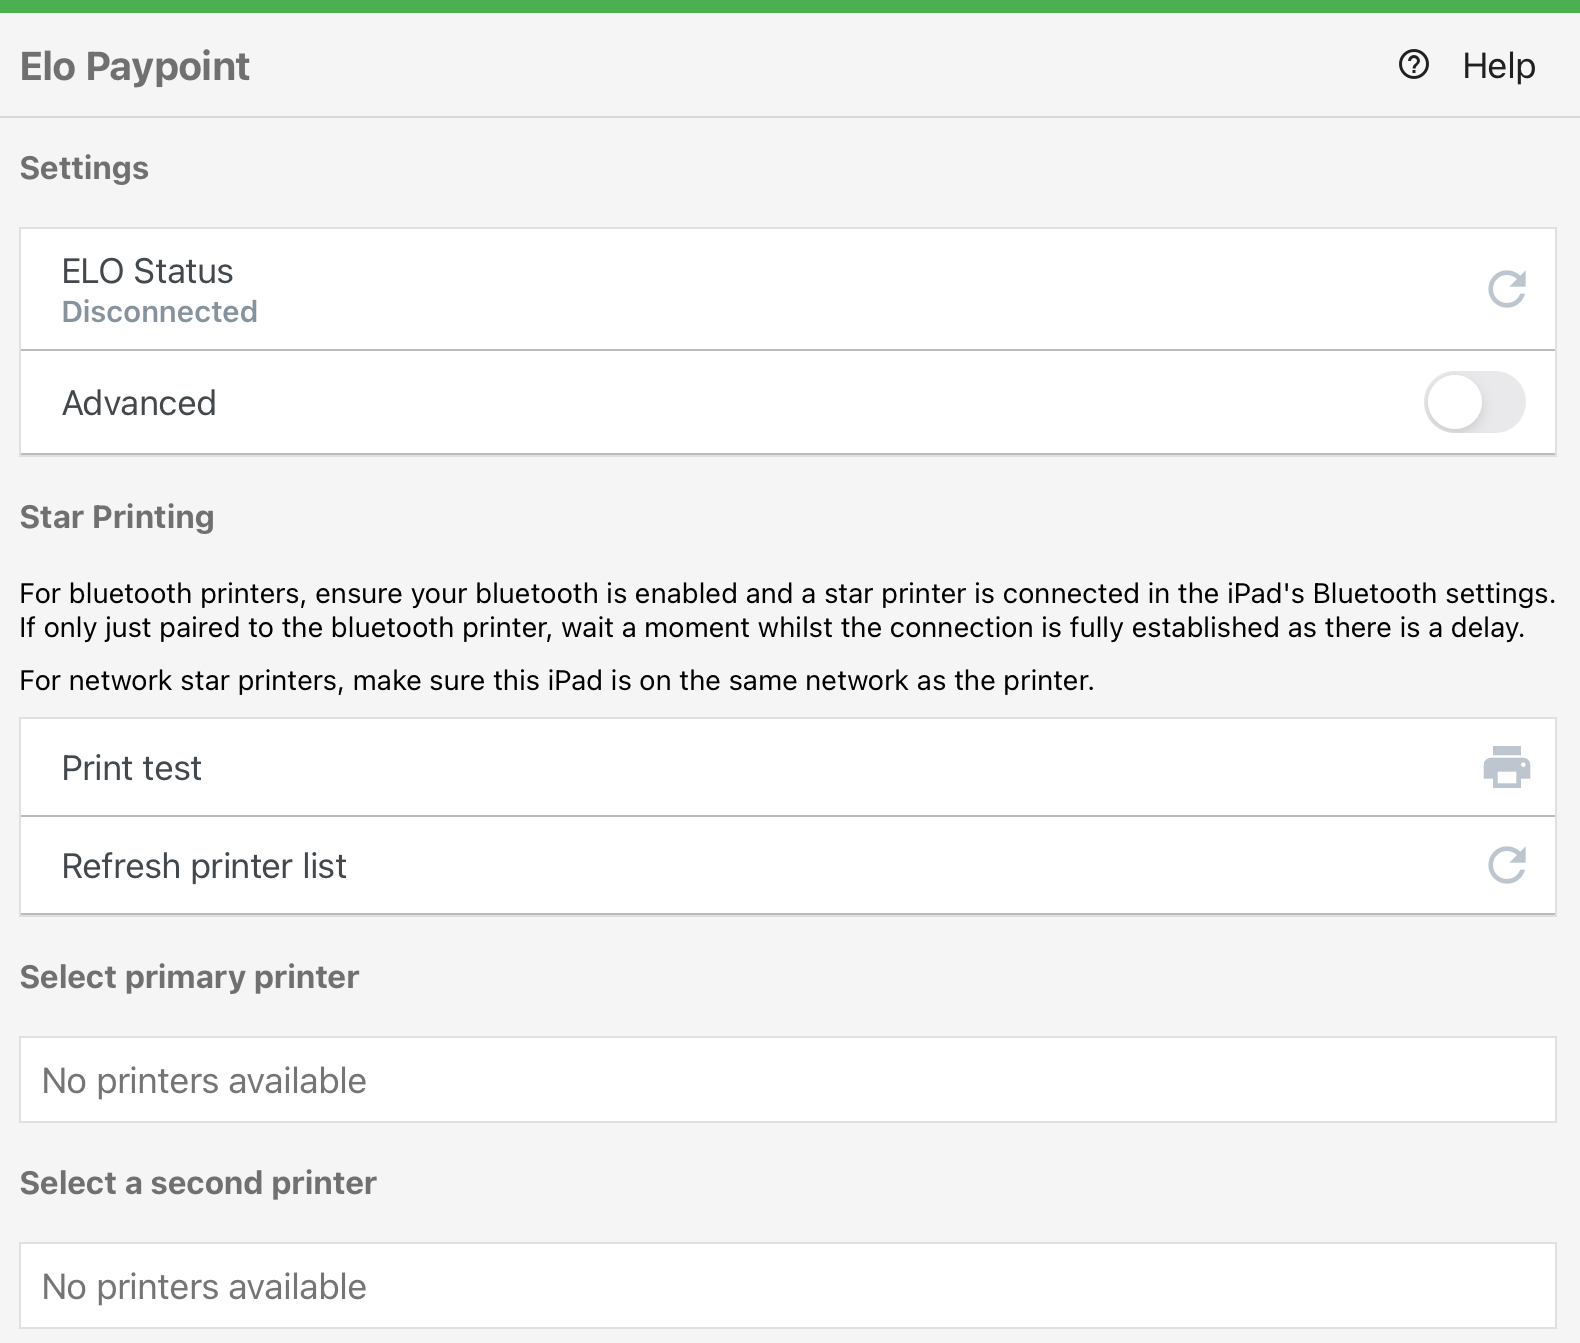
ELO Paypoint
The ELO Paypoint tab is where you can connect your ELO Paypoint for iPads to the POS.
The ELO Paypoint hardware for iPads has been discontinued, however, BLAZE does support the companies who continue to use this hardware.
For more information, please refer to the "ELO Paypoint Plus for iPad setup" article.
